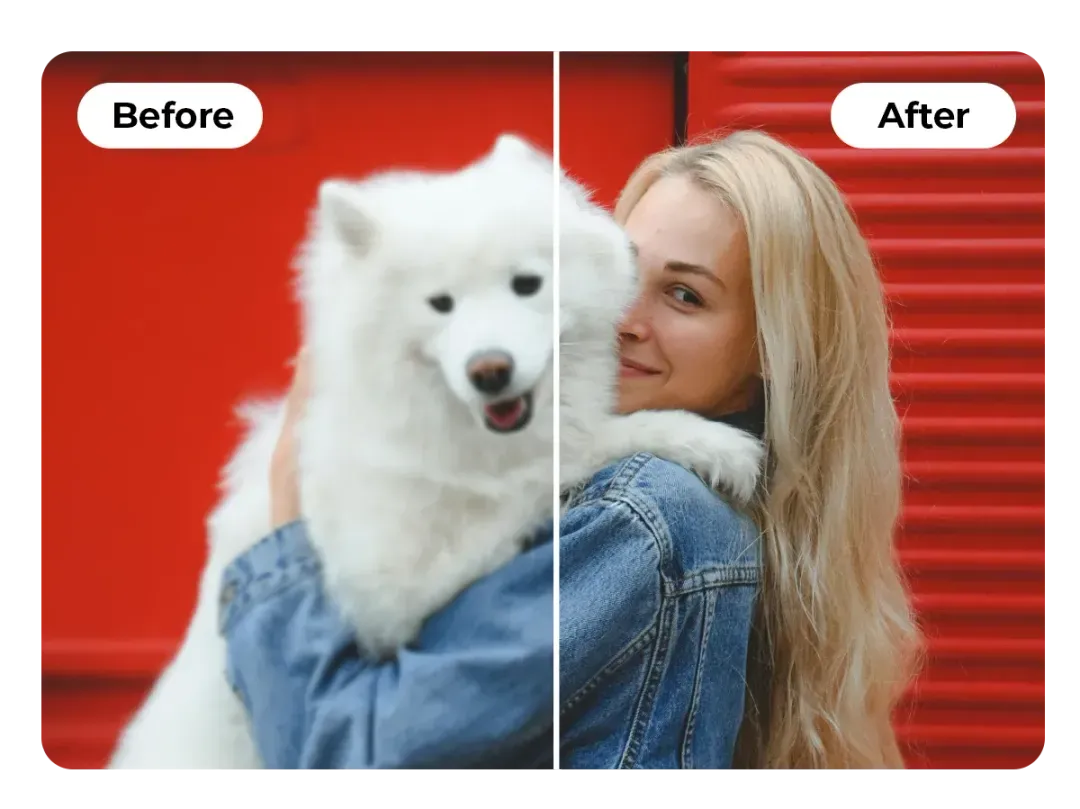
How to Unblur an Image: A Step-by-Step Guide

Introduction
Blurry images can detract from the emotional impact of personal memories or the professionalism of a project. Whether caused by motion, focus issues, or poor resolution, blurry photos often fail to capture the attention they deserve. Thankfully, modern editing techniques make it possible to restore clarity and detail.
In this guide, we explore effective methods to unblur images for both personal and professional use. From recovering sentimental moments to creating sharp visuals for branding, we’ll provide actionable tips and insights to enhance your photos.
1. What Does "Unblur Image" Mean?
Unblurring an image involves restoring clarity and sharpness to a photo that has lost focus. This process can help bring out details that were previously hidden due to motion blur, incorrect focus, or poor-quality equipment.
Common Causes of Blurry Images:
-
Motion Blur: Occurs when the camera or subject moves during the shot.
-
Focus Issues: Happens when the camera lens fails to properly focus on the subject.
-
Low Resolution: Results from images being stretched beyond their original size or captured at low quality.
Unblurring improves image quality for sentimental photos, product displays, or social media content, ensuring they make the right impression.
2. Why Unblur an Image?
Personal Use Blurry photos can diminish the impact of cherished memories. Unblurring helps restore those special moments, ensuring their emotional significance remains intact.
Professional Use In business and branding, image clarity is essential. Whether it’s for presentations, marketing campaigns, or social media, sharp visuals convey professionalism and credibility.
Applications in E-Commerce For e-commerce businesses, unblurring images is critical. Clear, detailed visuals attract customers, enhancing trust and improving sales. A blurred product image could mean lost opportunities.
When paired with a product photography app, unblurred images can create consistent, high-quality visuals that elevate branding.
3. How to Unblur an Image: Step-by-Step Process
Step 1: Analyze the Blur Type Identify the type of blur affecting your image. Motion blur, focus blur, and low resolution each require different techniques for correction.
Step 2: Apply Sharpening Techniques Use sharpening tools to enhance edges and bring out details. Adjust settings gradually to avoid over-editing, which can introduce artifacts.
Step 3: Reduce Noise and Adjust Clarity Reducing noise complements sharpening by smoothing out unnecessary distortions. Fine-tune brightness and contrast to make the image pop.
Step 4: Save in a High-Quality Format Once satisfied with the results, save the image in a format like PNG or TIFF to preserve its quality.
4. Best Practices for Unblurring Images
To achieve optimal results:
-
Use a high-resolution source image whenever possible.
-
Combine sharpening with noise reduction for balanced clarity.
-
Test the final image on different platforms to ensure its quality remains consistent.
5. Common Mistakes to Avoid
Unblurring images can be tricky. Avoid these pitfalls:
-
Using Extremely Blurry Images: Severely blurred photos may be impossible to fully restore.
-
Overuse of Sharpening Tools: Excessive sharpening can introduce unnatural artifacts.
-
Ignoring Image Context: Ensure the final image fits its intended use and platform.
6. Applications of Unblurred Images
Unblurred images are essential across industries:
Social Media: Sharp visuals increase engagement and improve profile aesthetics on platforms like Instagram and LinkedIn.
E-Commerce: High-quality product photos enhance trust, encouraging customers to make purchases. Integrating unblurred images into a product photography app ensures a cohesive brand image.
Marketing and Design: Clear visuals are vital for presentations, promotional materials, and graphic designs. Unblurred images help maintain professionalism and appeal.
7. Benefits of Using a Product Photography App
A product photography app offers tailored tools for refining images. Features like automated sharpening, background adjustments, and noise reduction simplify the editing process. By enhancing image clarity and consistency, such apps ensure professional-grade visuals that align with your brand identity.
8. Tips for Achieving Optimal Results When Unblurring
-
Gradual Adjustments: Apply sharpening and clarity tools incrementally to maintain a natural look.
-
Combine Techniques: Pair sharpening with noise reduction for balanced results.
-
High-Quality Formats: Save images in formats that retain transparency and resolution, like PNG or TIFF.
9. Techniques for Unblurring an Image
Sharpening: Enhances edges and details to improve clarity.
Noise Reduction: Reduces grainy artifacts, especially in low-light photos.
Contrast and Brightness Adjustments: Improve visibility and depth.
Manual vs. Automated Editing:
-
Manual Editing: Offers more control over specific areas of the image.
-
Automated Solutions: Ideal for quick and consistent results.
Conclusion
Unblurring images is a valuable skill for preserving personal memories and ensuring professional-quality visuals. Whether for social media, e-commerce, or marketing, clear images make a lasting impact. By using the techniques outlined in this guide—and leveraging tools like a product photography app—you can enhance the quality and appeal of your photos effortlessly.
- Art
- Causes
- Crafts
- Dance
- Drinks
- Film
- Fitness
- Food
- Giochi
- Gardening
- Health
- Home
- Literature
- Music
- Networking
- Altre informazioni
- Party
- Religion
- Shopping
- Sports
- Theater
- Wellness


